Showing posts with label Photoshop Tutorial. Show all posts

Design and edit photography with photoshop special effects

How to Design and edit photography bring out the colors in your photographs with HDR toning & shadows/highlights


video tutorial by: SeriousPhotoShop

kompositions effect here
Shadows/highlights:
-Amount: 15
-Tonalwidth: 20
-Radius: 70
-Amount: 50
-Tonalwidth: 65
-Radius: 50
-Colour correction: +40
HDR Toning:
-Radius: 180
-Strength: 1.50
-Gamma: 0.70
-Exposure: +70
-Detail: +0.50
-Shadow: -30
-Highlight: -10
-Viberance: +40
-Saturation: +30
Drag graph line: right-down (a little bit)

HOW TO BRING OUT COLORS & DETAILS IN YOUR PHOTOS

Advanced Color Grading Tutorial
HOW TO BRING OUT COLORS Grading Tutorial after editing

HOW TO BRING OUT COLORS Grading Tutorial before editing
HOW TO BRING OUT COLORS Grading Tutorial befor editing
Design and edit photography with photoshop special effects In this video tutorial we will use advanced color grading techniques to create a tone mapping effect without the use of any plugins or 3rd party software, we'll only be using Photoshop and what comes with it. We will start out with a photo taken with the aid of an off-the-camera flash and turn it into some sort of "reality show" poster ad. Taking a photo while using an additional fill-light or reflectors helpl us retain a lot of details in the shadows and highlights which make it easier in post-production to really push the color grading.

This tutorial will be really helpful to anyone who wants to give their photos a professional look with richer colors and higher contrasts. more video premium photoshop special effects click here
[read more]

Photoshop Tutorial CREATE FANTASY PORTRAIT with RETOUCHING TECHNIQUES

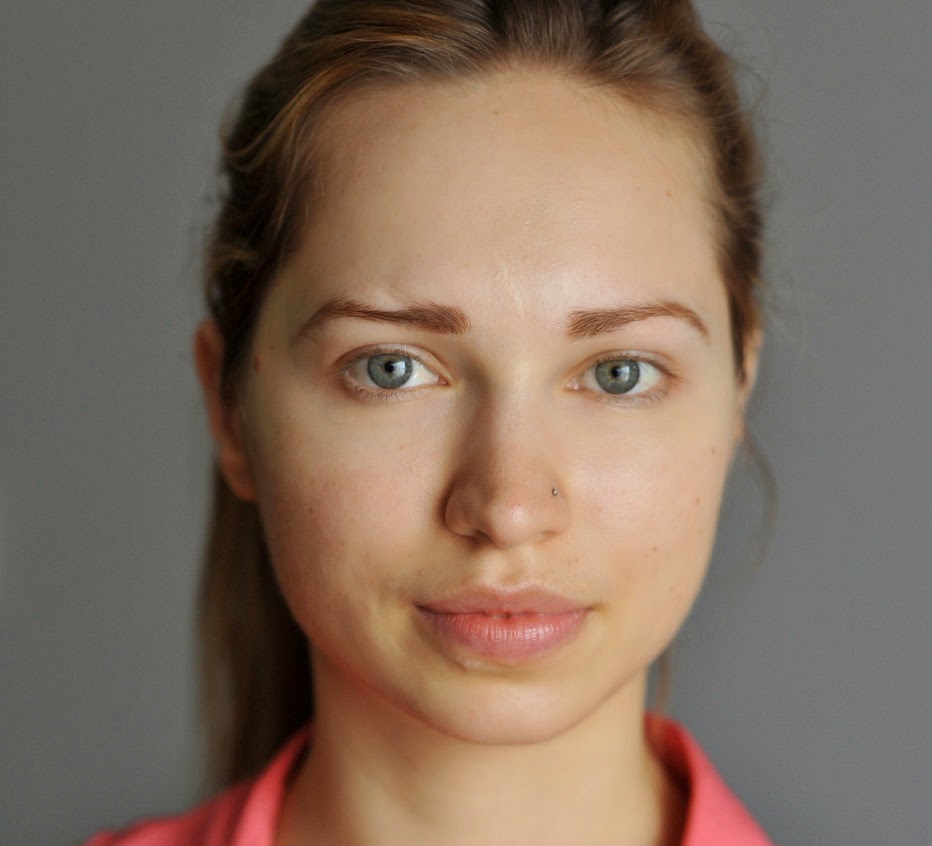
Photoshop Tutorial CREATE FANTASY PORTRAIT with RETOUCHING TECHNIQUES befor
befor
click here to larger photo

Photoshop Tutorial CREATE FANTASY PORTRAIT with RETOUCHING TECHNIQUES after
after
click here to larger photo

Photoshop Tutorial CREATE FANTASY PORTRAIT With the techniques you'll master after completing this Photoshop tutorial, you will be able to create many different looks for your portraits, whether you just want a subtle enhancement or you really want to push it and transform your portrait into something that is out of this world!

Photoshop RETOUCHING TECHNIQUES and Color Grading

In this 50 minute VIDEO tutorial, we will start with an unretouched portrait of a girl, a photo anyone can take at home with their camera and transform it into some sort of fantasy character. We will go through every step I took to get the final result, from working on the skin, color grading, lighting and finishing with the background.

Download photoshop tutorial in here : DOWNLOAD
[read more]

Photoshop Tutorial CARTOON CHARACTER WITH PHOTOMANIPULATION and RETOUCHING

Photoshop Tutorial CARTOON CHARACTER
click here to larger photo

Photoshop Tutorial CARTOON CHARACTER: We will be covering a lot of things in this massive tutorial. You will learn step by step how you can create any cartoon character you imagine using photomanipulation, retouching and color grading techniques. With only Photoshop and stock photos (or your own) you can create a unique caricature that can be a logo, a mascot for a product, a character in an ad, etc.. You can of course use the same techniques explained in this tutorial, in a more subtle way, to spice up your portraits or images.

This tutorial has a massive 89 steps detailing the entire process to achieve the image above and don't worry, all my tutorials can be done by anyone who has basic knowledge of Photoshop. Unlike other tutorials you'll sometimes see out there, you don't need to be a skilled digital painter to achieve the same results I get here - as I'm not a good digital painter myself ;)

As you can see below, I started out with a sketch of what I wanted to recreate in Photoshop. When doing a project like this, it is not a bad idea to do a sketch on a piece of paper, even if you are not that good at drawing, just so you have a clear idea of what you want to achieve. Another reason why drawing a rough a sketch is important is that a cartoon character has very different proportions than a real person and since we are using stock photos of real people to achieve our character, it's useful to have the scanned sketch of a cartoon in the background of your canvas in Photoshop to really help guide you in your creation. If you really cannot draw to save your life, you can use any cartoon image you find online and use it as a guide for proportions.

Photomanipulation + Retouching + Color Grading Tutorial
This Photoshop tutorial has 89 steps explained with text instructions + images and there are 2 steps a little more complicated that are explained with videos.
Tutorial Format: Text & Images + 2 Videos , Steps: 89 , Images Included
Download photoshop tutorial in here : DOWNLOAD
[read more]